Adding images to a product is the best way to empower backers to explore a products details. This is particularly important when the backers have multiple variations to choose from during the survey. Pre-order backers also appreciate the additional images during the survey since they aren't pledging from the Kickstarter/Indiegogo page, where the bulk of the campaign images exist. Below you'll find steps on how to add images to a product. Multiple images can be added to new or previously created products. Click here for help with creating products.
Adding Images to Products:
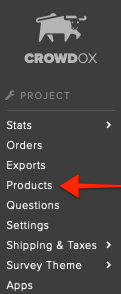
1) Access the product list.
Click on 'Product' from the left menu.
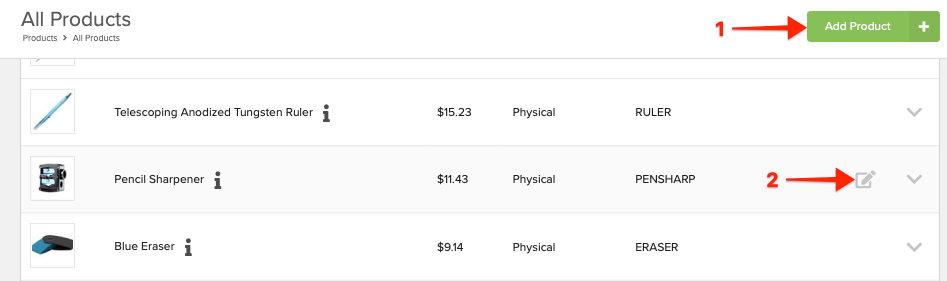
2) Edit or add product.
1. If you are going to create a new product, click on the green "Add Product" button in the top right corner of the Products list. 2. If the product is previously created, click on the image from the product list to edit.
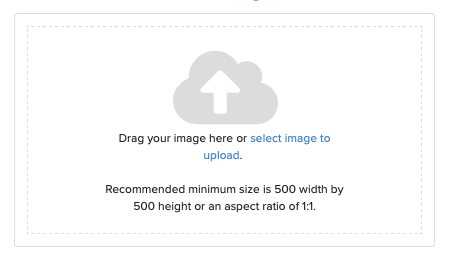
3) Add image.
Add images by dragging the file from your computer and dropping it within the image field. Alternatively you can click on the blue "Select Image to Upload" link within the image field to select the file from your computer.
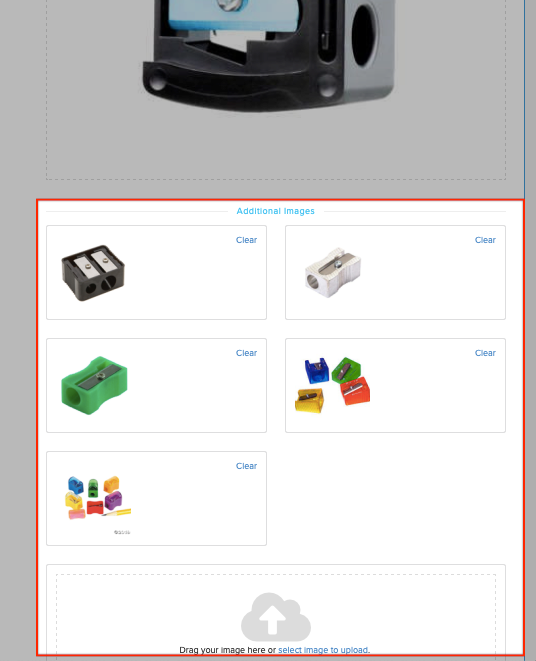
4) Additional images.
"Additional Images" is found directly under the primary product image. Upload additional photos specific to this product. If the product has variants, please be sure to list images with the variants as well.
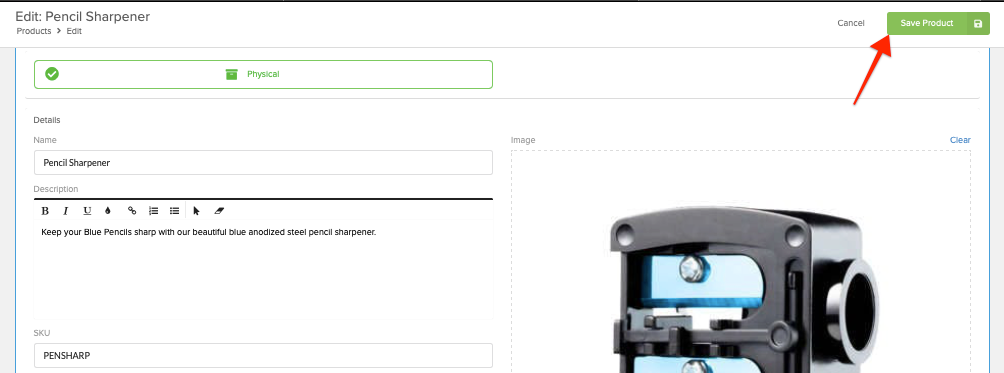
5) Remove image. (If needed)
Click on the blue "Clear" link in the upper right corner of the image to remove the image from the product.

6) Save Product.
Click the green "Save Product" button in the upper right corner to save.